How to Setup a WordPress Blog in Shopify Subfolder
How to Setup WordPress in Shopify Subfolder
When I joined Perfect Keto in early 2020, we were managing a large blog with a team of several freelance writers, editors, and VAs.
Shopify is great for eCommerce, but the blog functionality isn't built for serious content marketing. When you're coordinating writers and editors across multiple time zones who need different permission levels, collaborative editing, and approval processes, Shopify's blog can quickly become a major bottleneck.
The easiest solution was to host the blog on the subdomain. But that meant sacrificing domain authority and user experience just to get basic CMS functionality. Google says subdomains and subfolders perform the same for SEO, but I can tell you that's not what happens in practice from my experiences with the subdomain vs. sub-folder debate in previous companies.
When we hosted the blog on a subdomain, it took longer to get indexed and rank and sometimes at the expense of more backlinks for competitive keywords compared to pages we had on the main domain. Users would also bounce more often when moving between the main store and blog and cross-domain tracking wasn't so easy. Then came the conversation with the development team about a "proper" solution. Reverse proxy setup? "A low 5-figure quote for 3 weeks of development, plus ongoing server maintenance." That was a no-go.
After Perfect Keto, I started consulting for other DTC brands and saw this same problem everywhere; teams wanting to scale content marketing and SEO but Shopify's blog platform not intuitive enough. At the same time, I started to see new blogging apps on the Shopify App Store that provided a better CMS. Those helped overcome some issues around writer management but customization usually was limited and the writers always compared it to WordPress and how easy it would have been to do things without requiring a developer for every small change.
The apps gave me an idea that it was possible to host an external blog without a complicated setup. I started reading Shopify's docs to understand how app proxy worked and realized I could use it to proxy WordPress content directly to a Shopify subfolder.
That's when I decided to build Post Bridge to solve this exact problem.
What is Post Bridge?
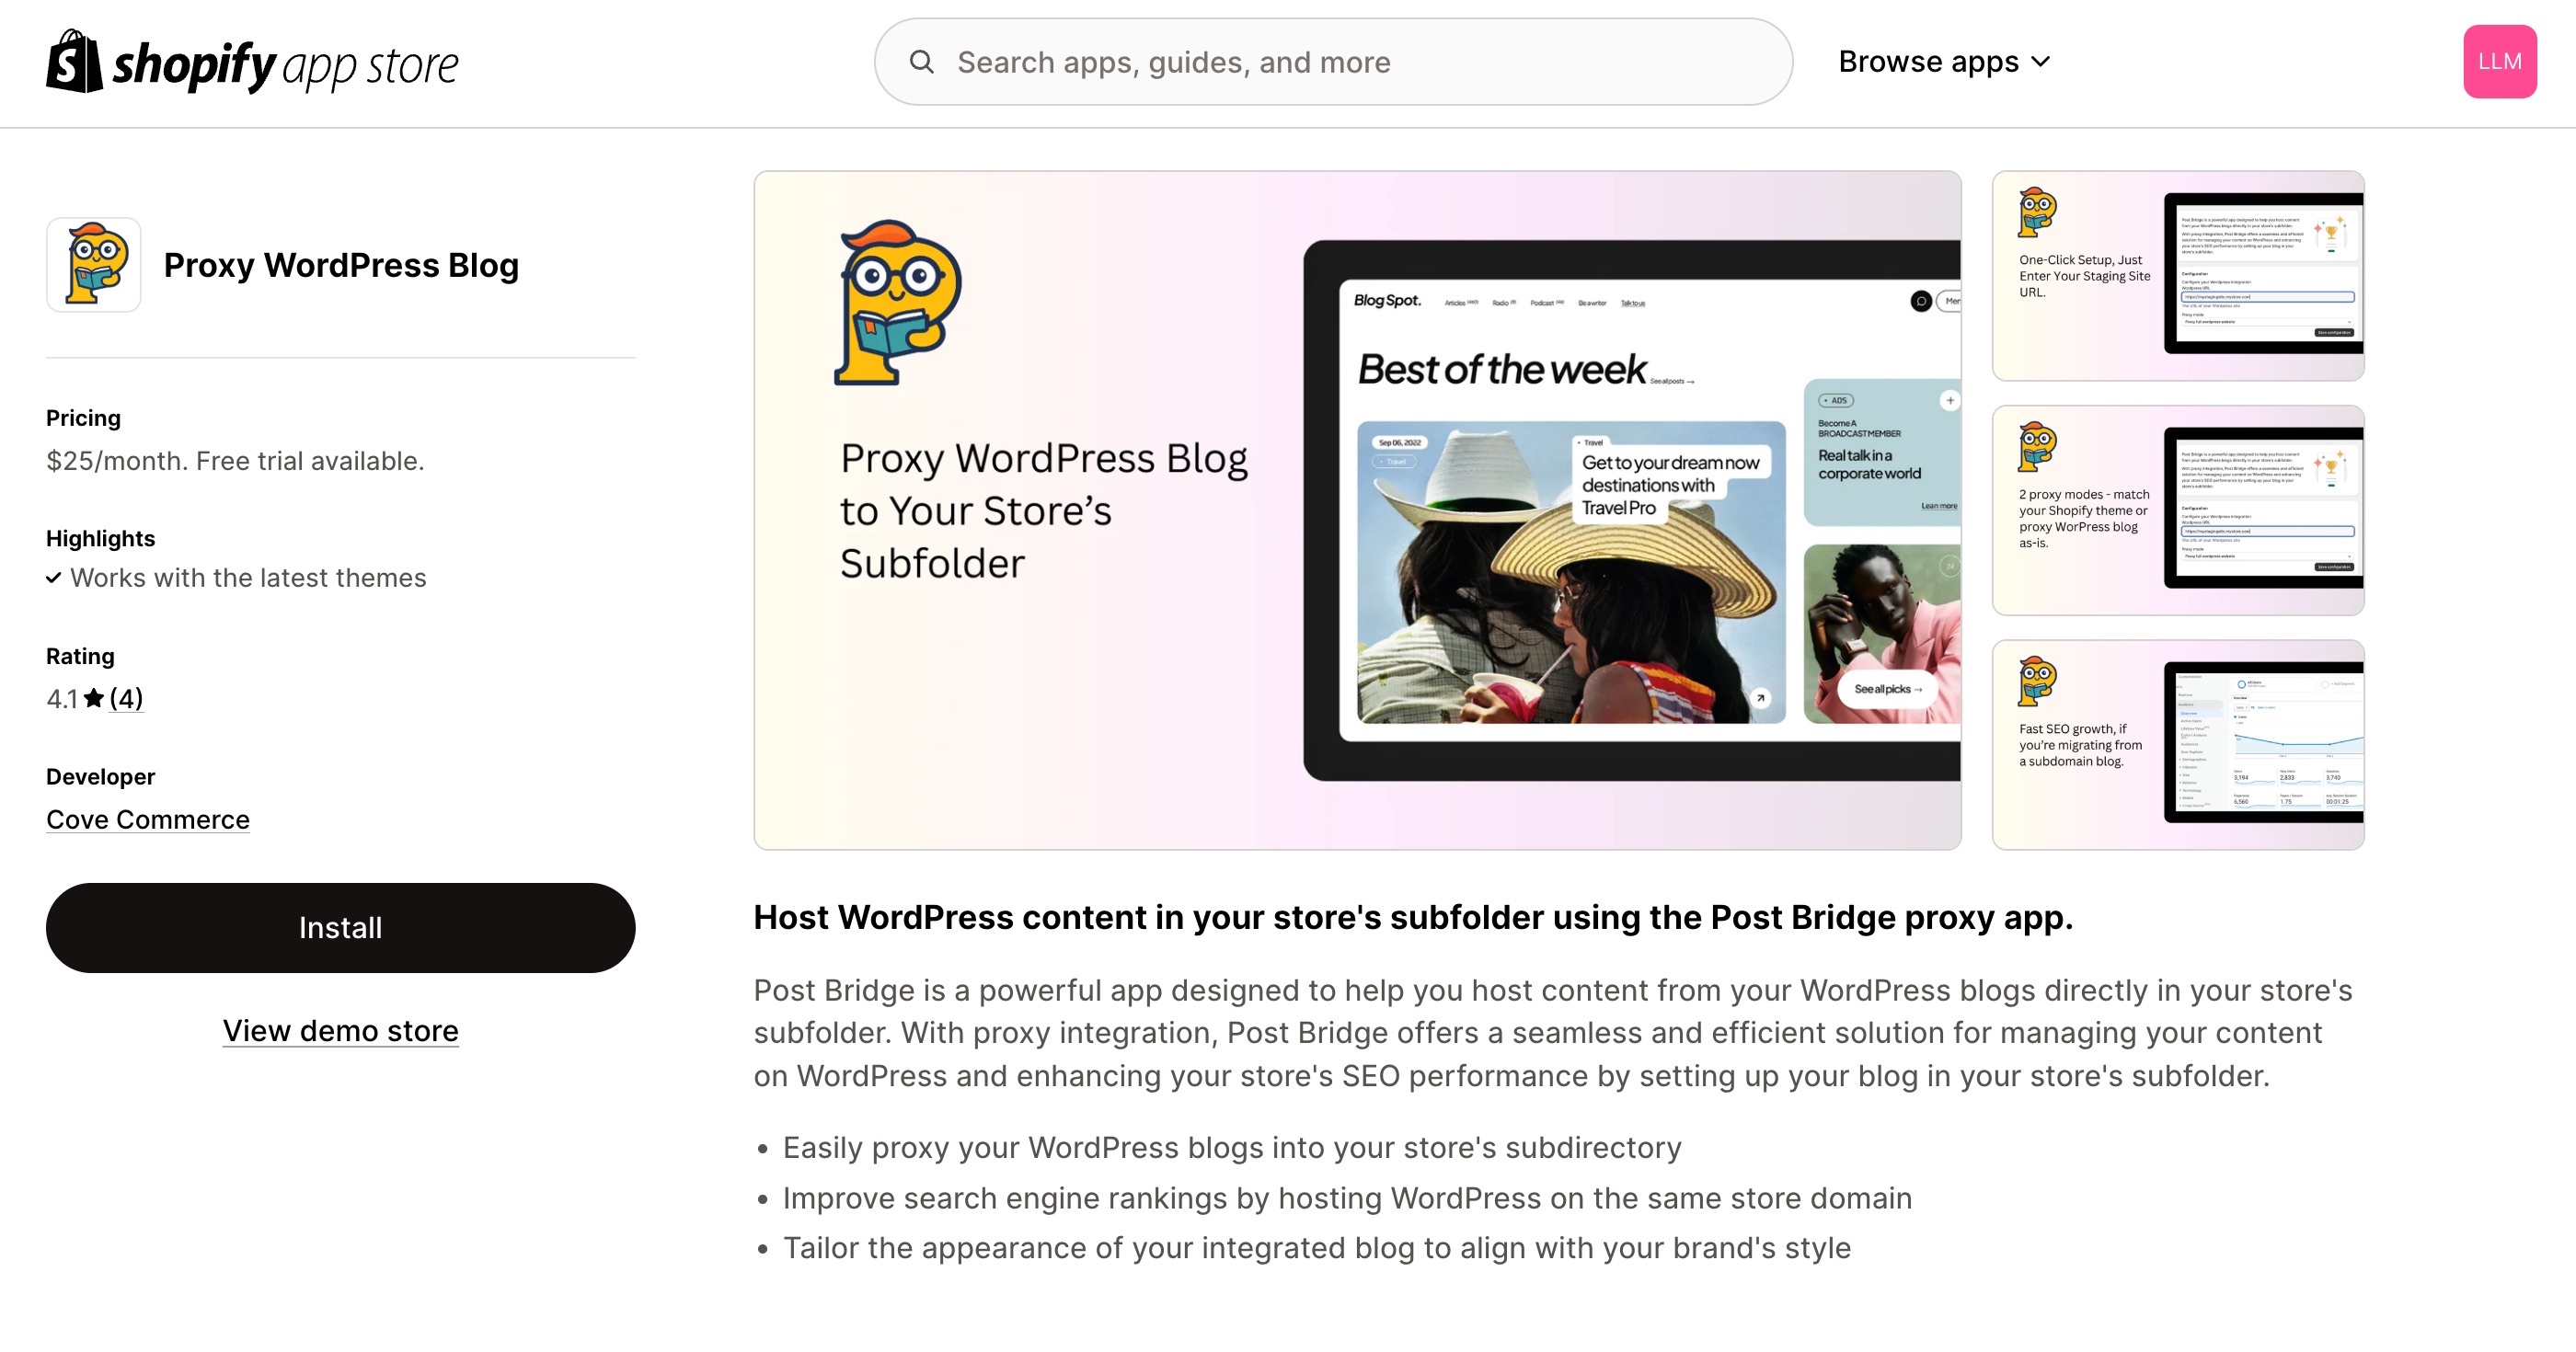
Post Bridge is a Shopify app that uses the platform's built-in proxy functionality to connect your WordPress blog directly to your Shopify store's subfolder structure.
Instead of hosting your blog on blog.yourstore.com or dealing with complex reverse proxy setups, Post Bridge lets you serve WordPress content on your store's subfolder just like how you would if you were using Shopify's default blog functionality or other blogging apps.
You'll be up and running your WordPress blog on Shopify's subfolder in under 30 seconds if you already have your WordPress blog hosted somewhere.
Sure, getting yourstore.com/blog would be perfect (which you'd achieve with a true reverse proxy) but yourstore.com/a/blog (or the two-path structure which Shopify provides by default) is already better than a subdomain setup, plus I can finally keep using WordPress for easy blog management.
Over time, I haven't really noticed much difference in performance between having the blog on /blog or /a/blog.
Steps to Setup WordPress in Shopify Subfolder With Post Bridge
There's nothing complicated about this setup. In fact, it's built to be the opposite of those complex reverse proxy solutions that require weeks of development time.
Step 1: Get Your WordPress Site Ready
If you don't have WordPress set up yet, you can quickly get started with hosting providers like Bigscoots, Cloudways, Kinsta, or WP Engine. If you host from one of these providers, you don't even need to set up a custom domain for your WordPress blog. You can literally use the staging site URL that these hosting providers give you.
For example, if you spin up a WordPress site on Cloudways, you'll get a staging URL like https://123456-654321-wordpress.cloudwaysapps.com. You can use this URL directly with Post Bridge to start serving your WordPress content on your Shopify subfolder immediately. No need to point a subdomain to it or configure any DNS settings upfront.
If you already have a WordPress blog hosted somewhere (whether on a subdomain, staging URL, or separate domain), you're ready to move to the next step.
Step 2: Install Post Bridge from the Shopify App Store
Install Post Bridge from the Shopify App Store. The app will request permissions to create proxy routes for your store—this is exactly what we need to serve WordPress content on your subfolder.
Step 3: Connect Your WordPress Site
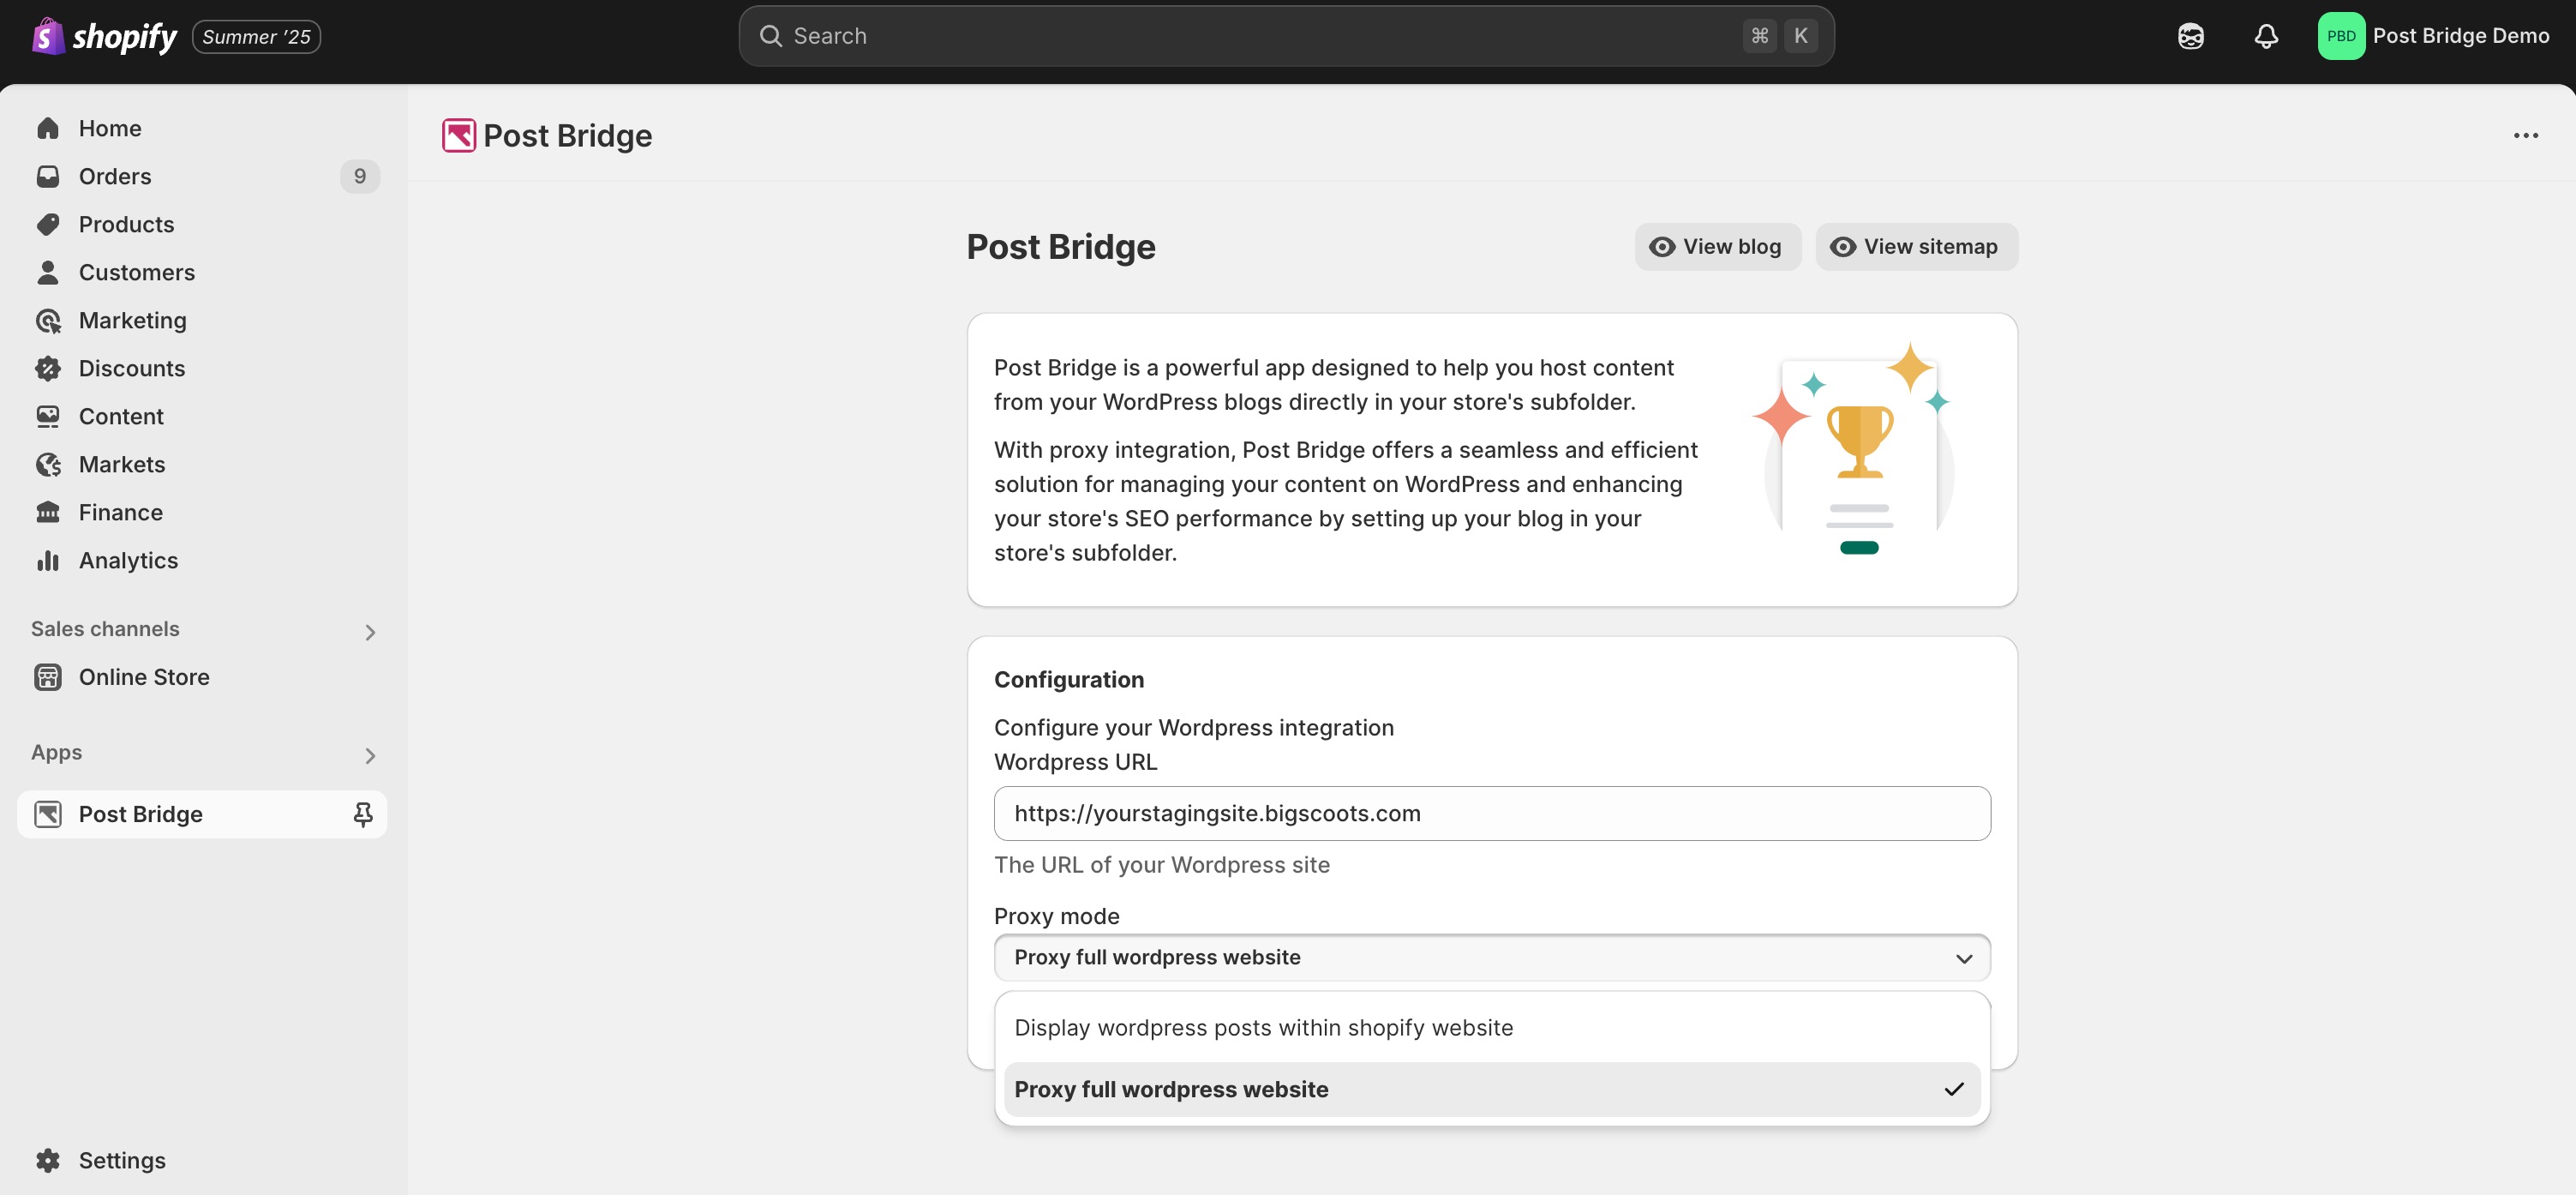
Once Post Bridge is installed, you'll see a simple setup screen asking for your WordPress site URL.
Enter your WordPress URL (this could be your staging URL like https://123456-654321-wordpress.cloudwaysapps.com or your existing WordPress site like https://blog.yourstore.com).
Post Bridge will automatically test the connection to make sure it can reach your WordPress site and proxy content properly.
Step 4: Select Your Proxy Mode
Post Bridge has two proxy modes depending on how you want to integrate WordPress with your Shopify store:
-
Full Proxy Mode: This serves your entire WordPress site through the Shopify subfolder. Your WordPress theme, navigation, sidebar, footer—everything appears exactly as it would on your standalone WordPress site. Choose this if you want complete design control and have already customized your WordPress theme to match your brand.
-
Content Proxy Mode: This pulls only the post content from WordPress and displays it within your existing Shopify store layout. Your blog posts will inherit your Shopify theme's header, navigation, and footer, creating a seamless experience for users moving between your store and blog. Choose this if you want your blog to look and feel like it's part of your Shopify store.
Most users prefer Content Proxy Mode so they don't really need to invest on any UI/UX work on their blog, but Full Proxy Mode gives you maximum flexibility if you've invested heavily in WordPress theme customization.
Step 5: Configure Your Subfolder Path
Choose what subfolder path you want for your blog.
By default, Shopify apps use the /a/ structure, so your blog will be accessible at yourstore.com/a/blog. You can customize the second part—so you could have /a/content, /a/articles, or stick with /a/blog.
Step 6: Test Your Setup
Post Bridge will show you a preview of how your WordPress content will appear on your Shopify subfolder. If you have existing posts on WordPress, you should see them immediately accessible through your new Shopify subfolder URL.
That's it. Your WordPress blog is now running on your Shopify store's subfolder, inheriting your store's domain authority while giving you full WordPress functionality for content management.